File Server
Overview
The File Server is an essential component connected to your instance, providing a storage location for your configuration files and firmware for your CPE. In this chapter, we will explore the elements and features of the File Server.
Buckets
There are two bins. One contains firmware, and the other contains configuration files. There are a few things to mention to ensure you don't encounter issues when using DMS.
Tables
There isn't much difference between the tables in different bins, so we will discuss them in one section. Entries in these tables represent files stored on the server.
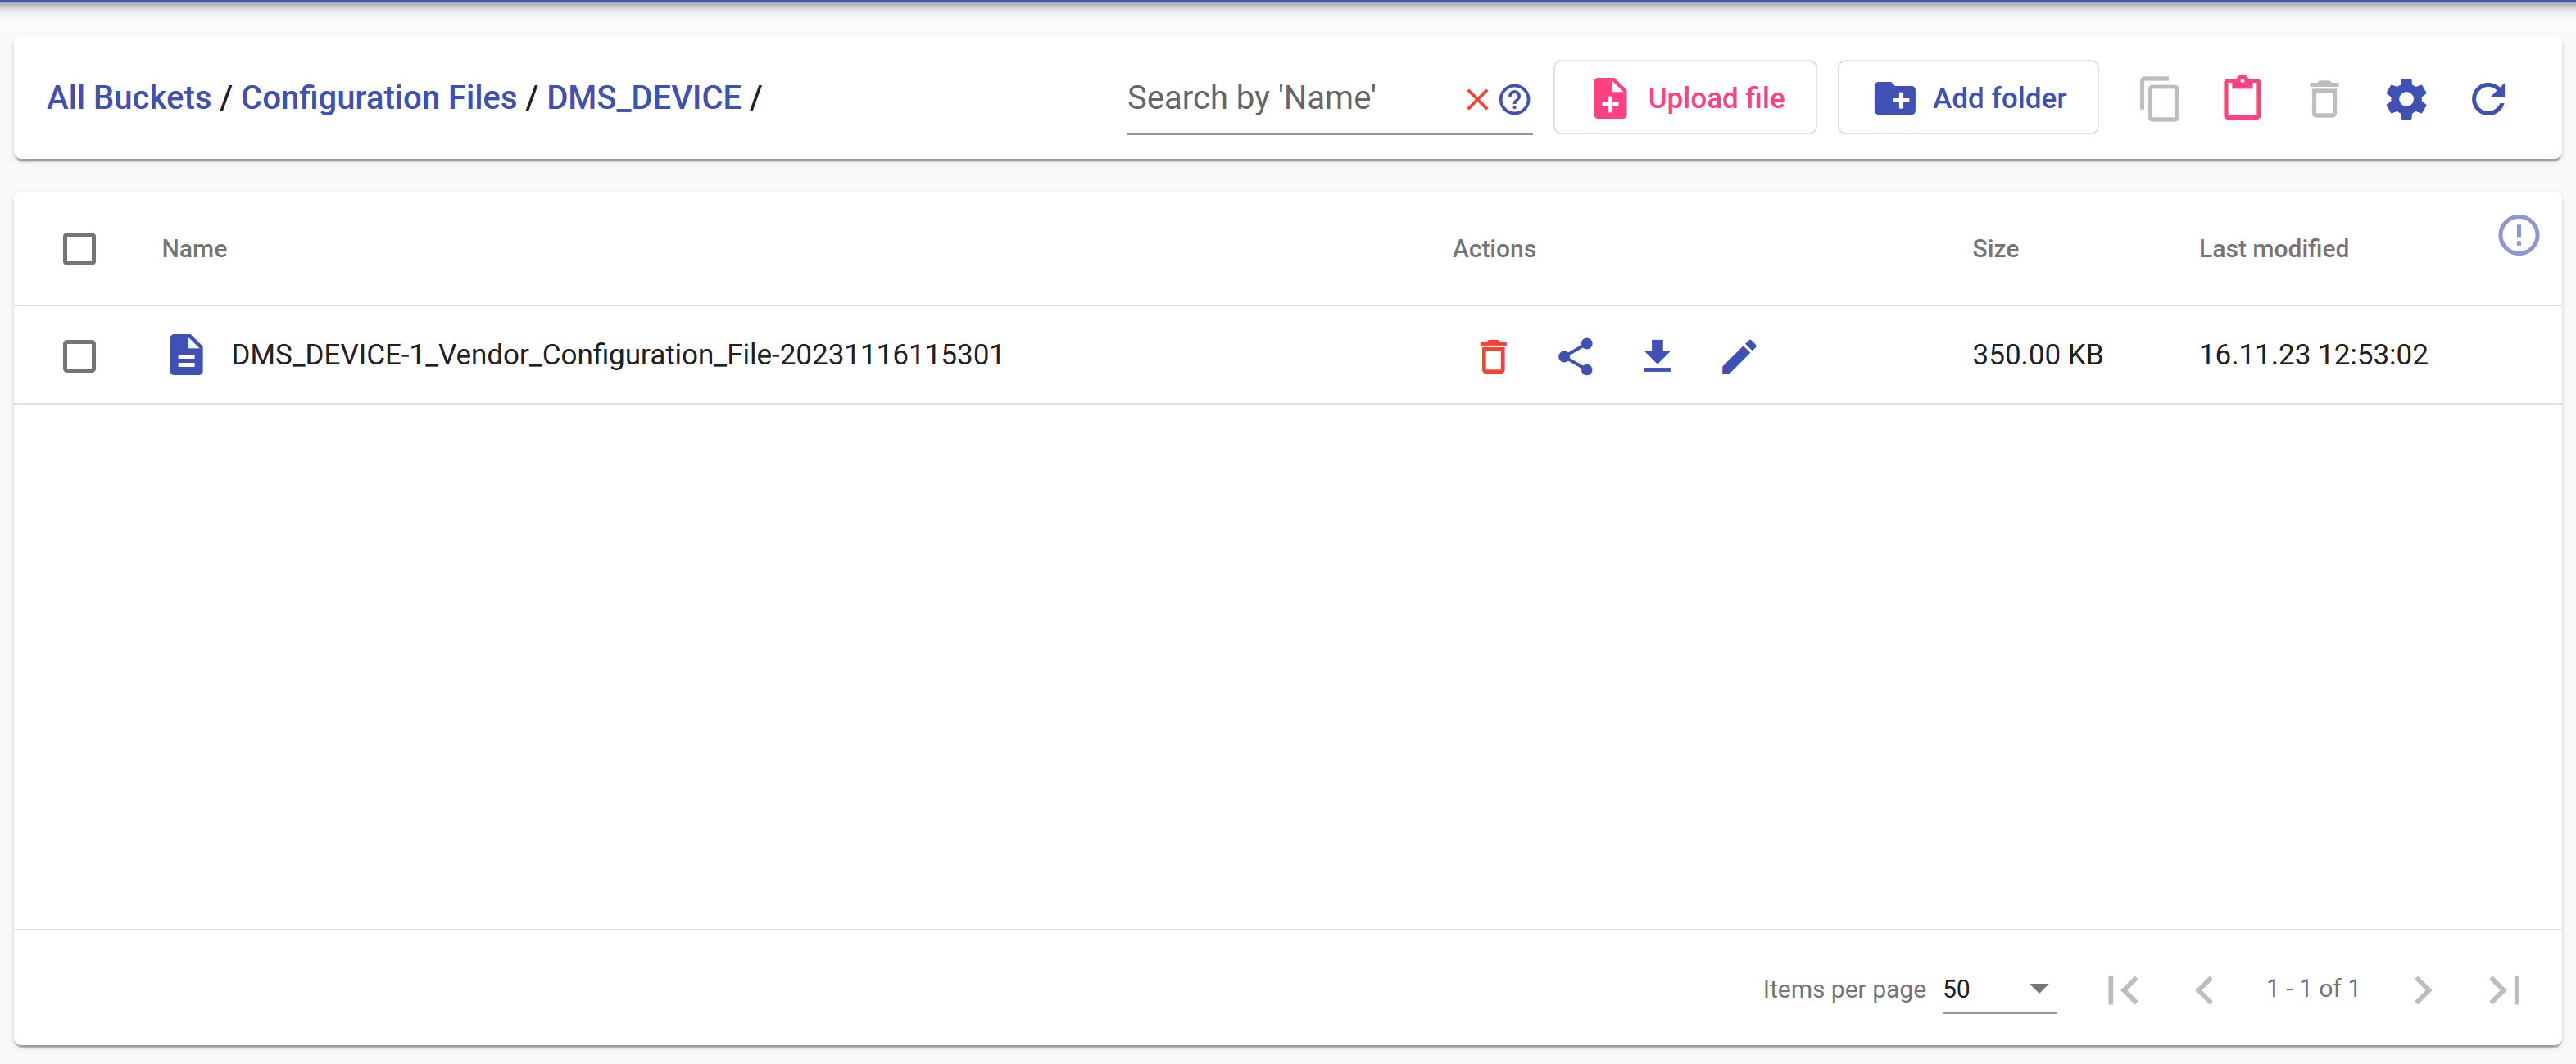
Actions

To interact with a specific file on the server, you have the following actions:
- To delete a file from the server, use the delete icon

- To allow your devices to download files from the server, you need to provide them with a link. To obtain the link, click on link icon

- You can download a file to your local machine using the download icon
 .
. - To edit a file, use the edit icon

- Entries in the tables have a checkbox. By clicking on it, you can add the file to a group for which a mass operation (cut, delete) will be performed.
Toolbar

For file operations, we have the following buttons:
To move one or multiple files, click on the checkbox next to the file(s) and press ![]() . Go to the directory where you want to move the files and click
. Go to the directory where you want to move the files and click ![]()
To delete one or multiple files, click on the checkbox next to the file(s) and press ![]()
To upload files from your local machine to the server, go to the directory where you want to upload the file, click the "Upload file" button, press "Browse Files" in the dialog box, select the file you want to upload, and click "Open." The upload will start, and upon completion, the file will appear on the server.
To create a directory, use "Add folder." Go to the directory where you want to create a nested folder, click "Add folder," enter the name, and press confirm. The directory is created.
Config Bucket
Now we will discuss how to properly upload files to the server, specifically regarding configuration files. Incorrect uploading may lead to the system being unable to correctly associate the file with the devices it is intended for.
Correct upload
If you are uploading a config file to your server follow these steps to be sure that it will be correctly integrated with our system.
There are two rules:
- The file should be located in a directory with a name corresponding to the CPEID.
- This directory, in turn, should be located in the root directory of the bucket.
Other than that, there are no strict rules.
Files count
For one CPE we have a limit of 5 config files. If the limit is exceeded while doing the config backup, the latest files will be automatically removed.
Firmware Bucket
As for firmware, there are no specific rules for uploading, so you can organize your files in a way that is convenient for you. However, as an example and recommendation, you may consider the following approach: /vendor/model/firmware/. This structure makes it relatively easy to navigate within this bucket.
Example
Firmware Updates: Suppose you are establishing a Campaign for firmware updates as described in the admin portal, where a link to the firmware file is required. With a file server, you have a link to this file readily available.
Device Configuration Updates: If you need to update the configuration of a device, uploading the file to the specified path makes it instantly available in the device's card in the Configuration files section.
In this way, having a file server can significantly streamline processes related to firmware and device configuration management.